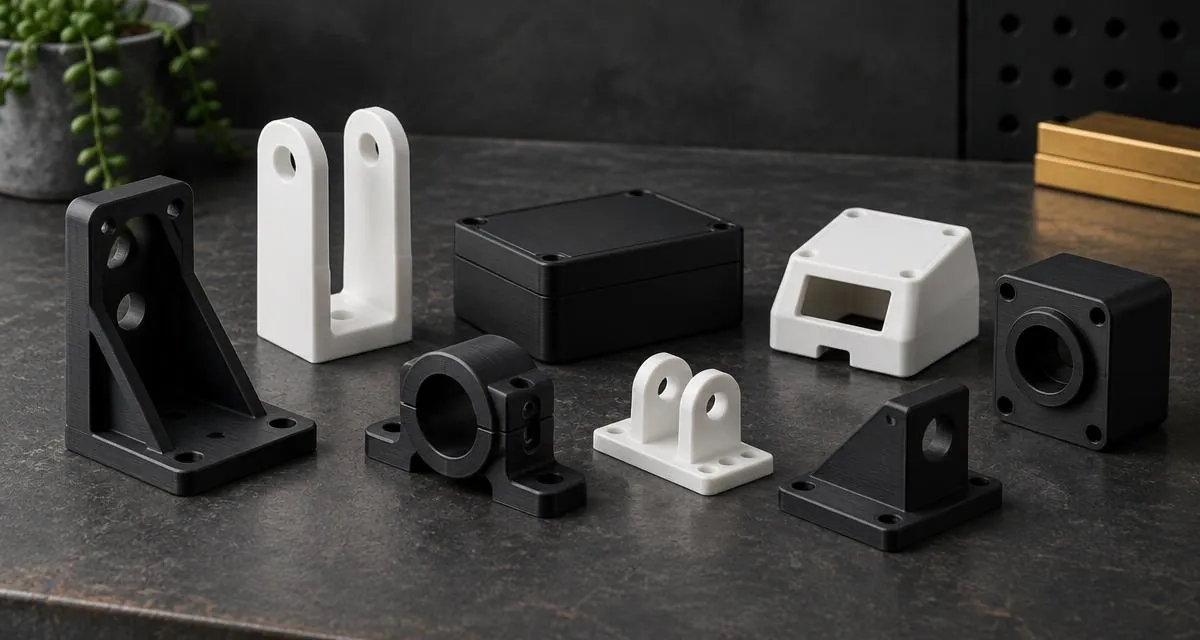
3D Fabrication Workflow — File to Finished Part
3D fabrication workflow: No surprises. Every project follows the same pipeline — clear checkpoints, real timelines.
- 1STEP · 01 · Same day
Consultation
We review your object, files, and desired output. You get a fixed quote and a delivery date.
- 2STEP · 02 · 1–2 hours
Scan
Metrology or handheld structured-light capture, in-studio or on-site. Multi-angle passes for fidelity.
- 3STEP · 03 · 1–3 days
Clean-up & Modeling
Point-cloud registration, mesh clean-up, retopology, and STEP/STL export.
- 4STEP · 04 · 1–4 days
Print or Laser Cut
Single- or multi-material FDM printing, or diode-laser cutting and engraving.
- 5STEP · 05 · Same day
Quality Check
Dimensional verification, finish inspection, and material QA before the box is closed.
- 6STEP · 06 · 24 hours
Delivery
Boxed, courier-ready, or in-studio pickup. Digital files delivered by secure link.
Common questions about the process.
3D fabrication workflow — plan the next step
A useful production brief connects the file to its intended application. Identify critical mating surfaces, visible finish, material requirements and the nominated delivery address before approval. Our Sydney print farm production guide explains first-article checks, current materials and quantity breaks. For a repeat run, review batch printing and bridge production before choosing your order size.
Read the studio fabrication guides for preparation advice, or compare the full scanning and printing workflow when your job begins with a physical object. An instant model-based print estimate is a starting point; the studio confirms printability, inspection, packing and timing for the actual brief.